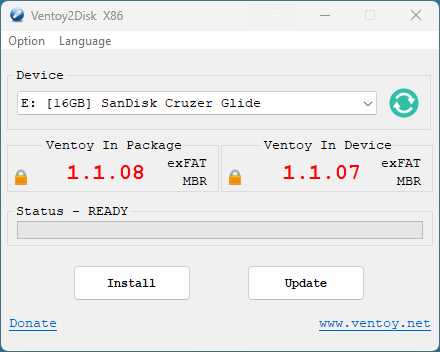
Extract and run Ventoy2Disk (Windows) or execute the shell script on Linux.
Select your USB drive and click Install (this begins the process of wiping the drive).
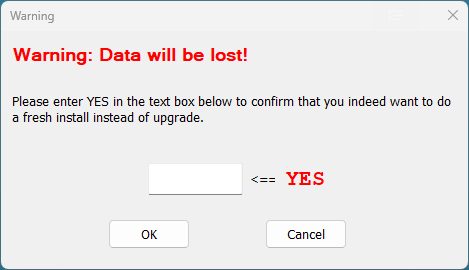
A window will pop up advising you that all data on the drive will be DESTROYED; be sure that a backup of any data on the drive has been accomplished. This will wipe the drive. Type YES in the box and click OK when ready to do so.
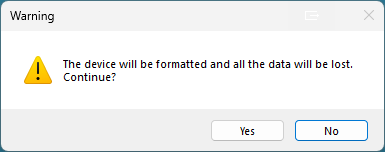
Another warning will prompt, click Yes if you are okay with wiping the drive.
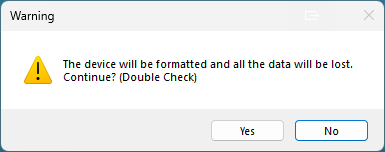
And yet another warning will prompt, click Yes if you are okay with wiping the drive (double check).
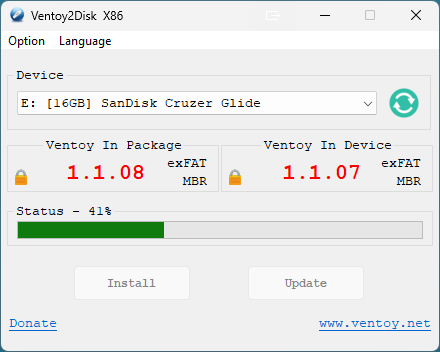
Ventoy will do its thing...
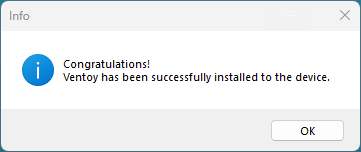
...and will then congratulate you when it's done...click OK.
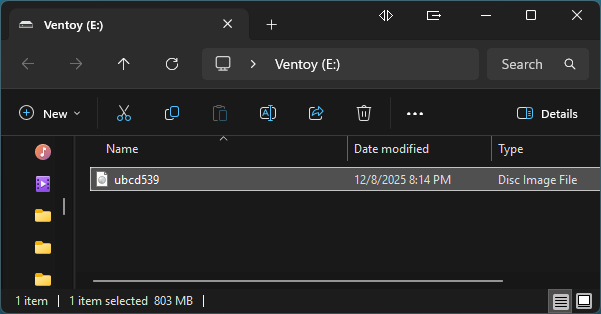
After installation, copy ubcd.iso directly to the USB drive. The drive should now be labeled "Ventoy".
You can copy multiple ISOs if you want a multi-boot setup — no need to recreate the USB.
Boot from the USB; Ventoy’s boot menu will appear. Select UBCD to start.
Notes
Ventoy lets you update or replace ISOs without reformatting your USB stick.
If Secure Boot is enabled, sign Ventoy’s key or temporarily disable Secure Boot.
UBCD works on both BIOS and UEFI systems (Legacy/CSM is usually best).
Ventoy supports persistence for certain ISOs, but UBCD runs best as a standard boot image.
Troubleshooting
USB not booting? Check your firmware boot order or try pressing F12 / Esc to access the Boot Menu.
Missing menu entries? Make sure your ISOs are in the USB root directory (not inside folders).
Secure Boot error? Disable Secure Boot or import the Ventoy certificate manually.
Drive not detected by Ventoy2Disk? Run as Administrator or use the Linux script.
Additional troubleshooting information available in our FAQ.